
Floors & Puzzles
The Hollow Roblox Puzzle Guide
The Hollow puzzle answers and floor map: codes, relic steps, and maze solutions for the floors, plus what each puzzle unlocks.
- Floors
- 9
- Floor UGC
- 9
- Layouts
- Randomized
- Core loop
- Relic → elevator
On this page
- How every floor works
- Floor 1: five maze pieces
- Floor 2: six pumpkin pillars
- Floor 3: graveyard lifespans
- Floor 4: the zombie tile path
- Floor 5: mirror and light routing
- Floor 6: the Witch's Brew cauldron
- Floor 7: light four pumpkins
- Floor 8: place five relics
- Floor 9: the symbol levers
- Failure rules and reward claims
How every floor works
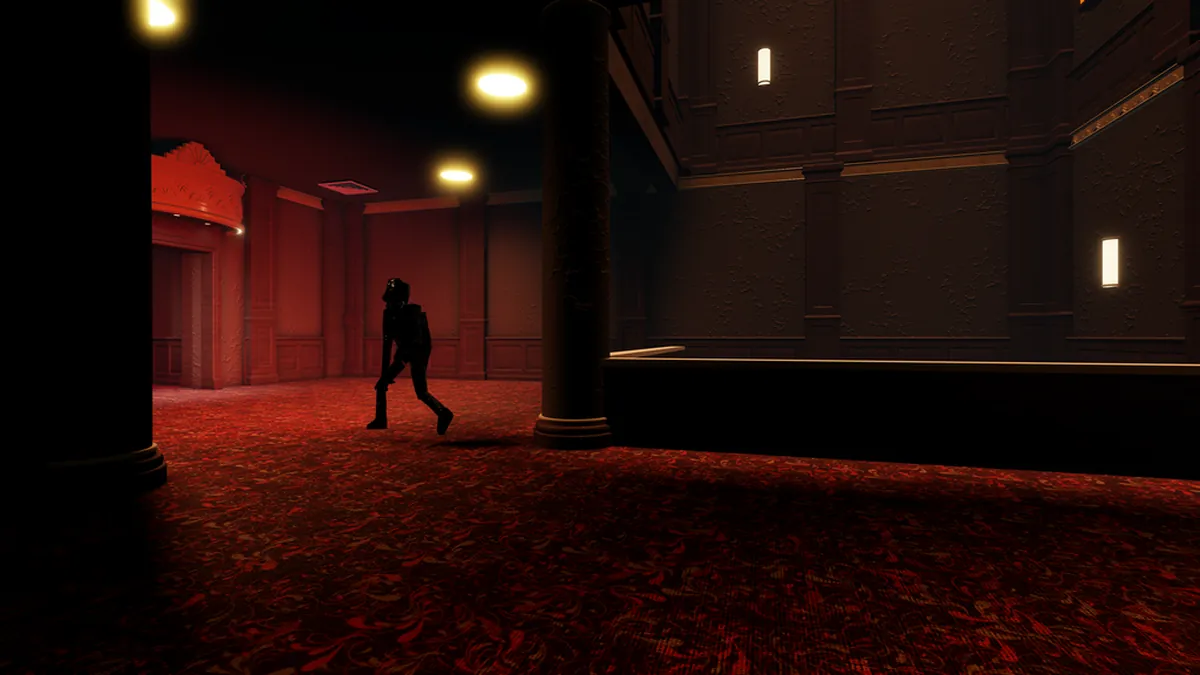
Enter the theater and use the elevator. Each floor is a randomized maze with a themed relic room, one puzzle mechanic, and a monster from that night's headline game. The objective is always to take the relic back to the elevator.
Pick an unlocked floor from the elevator, search the maze for the themed relic room, solve the puzzle, take the relic, then return to the elevator without being caught. The floor's UGC is awarded when the run completes.
Older floors stay open after their debut night. You can clear them in any order before the reward window closes. The exact failure penalty differs by floor; the safe rule is to avoid the monster and protect the relic.
Floor 1: five maze pieces
Floor 1 is the Seek floor. Find five purple maze pieces scattered across the theater, bring them to the Relic Room, and arrange the pieces so the start and end connect and light up. Take the relic and return to the elevator.
The piece locations move with the maze. The Relic Room is reached by going forward through two rooms and taking a right; it has a purple glowing wall. The reward is the Lord Umberhallow BLOXikin.
Floor 2: six pumpkin pillars
Floor 2 is the Twisted Dandy floor. The relic room resembles a playhouse. Go up the far-right stairs, enter the back room with the pillars, and read the riddle.
Turn the six stone pumpkins so their faces point inward toward each other. Turning one pillar also rotates its neighbors. Keep adjusting the group until every base glows toward the center, then pull the lever. The reward is the Witches Brew-nado.
Floor 3: graveyard lifespans
Floor 3 is the Biter floor. Find the graveyard, read the tombstones, choose the three people who lived the shortest lives, and enter their symbols from shortest to longest on the Grave Lock. Press M to unlock the mouse, set the three dials, and press Open.
This is the one floor where a copied answer almost never works. The gravestones and symbols change per run. The full calculation is on the Floor 3 puzzle page. The reward is Festering Felix.
Floor 4: the zombie tile path
Floor 4 is the Deer floor. The relic room is a lodge with a fire and a zombie standing near a set of white tiles. Watch the zombie walk across the tiles and memorize the order. Then repeat the same path to reach the other side.
A wrong tile makes the side crumble and resets the attempt. The zombie repeats the same path for you, so watch again instead of guessing. The path order differs per player. The reward is Boo & Bub.
Floor 5: mirror and light routing
Floor 5 is the Hiachi floor. The relic room looks like a ruined high school. Rotate the mirrors so the light passes through every mirror and reaches the skull. One documented route starts with the upstairs pink mirror, turns it toward the orange mirror, and continues alternating orange, green, pink, and blue mirrors until the skull lights.
Treat the exact mirror order as one player's route; the important rule is that each mirror must redirect the beam into the next mirror. The reward is the Spore-Worn Traffic Cone.
Floor 6: the Witch's Brew cauldron
Floor 6 is the Animal Hospital floor. The relic room has a cauldron with a three-item color requirement. The cited guide lists seven possible items; read the cauldron's displayed requirement and collect the matching set.
| Item | Color |
|---|---|
| Pink Rose | Pink |
| White Bone | White |
| Yellow Mushroom | Yellow |
| Cyan Feather | Cyan |
| Orange Pumpkin | Orange |
| Green Slime | Green |
| Red Pomegranate | Red |
Check the cauldron's requested combination before collecting. Adding the wrong items does not solve it. The reward is The Amazing Liquefactive Bighead.
Floor 7: light four pumpkins
Floor 7 is The Inspector floor. Pick up the torch at the relic room entrance, then return to the maze and light the four pumpkins you passed on the way in. After all four are lit, the floor reward unlocks.
Remember the pumpkin positions while you search for the room; backtracking is the main time cost. The reward is the Candy Corn Rune Antlers.
Floor 8: place five relics
Floor 8 is the Overseer floor. Find the safe room with five items on a podium: a candle, lantern, potion, skull, and bell. Carry one item at a time into the maze and place it on the matching white glowing spot.
You can carry only one item at a time. Return to the safe room after each placement. Once all five are placed, take the relic back to the elevator. The reward is Rotten Pumpkin.
Floor 9: the symbol levers
Floor 9 is the Piggy finale floor. The puzzle room shows a sequence drawn from five symbols: Ghost, Pumpkin, Spider, Bat, and Broom. Find the lever matching the first symbol in the maze, pull it, and return to the room. A door lights up when the correct lever is pulled.
Repeat the process for each symbol, then collect the ninth relic and return it to the elevator. The sequence is random per run. Piggy chases you; an Invisibility Cloak is the most direct way to break a bad chase. The reward is Telamon's Ghoultry Suit.
Failure rules and reward claims
The maze monsters can interrupt a run, but the cited sources do not give a consistent per-floor reset rule. Floor 3's catch penalty and Floor 9's chase behavior are described differently from the earlier floors. Keep the relic safe and return to the elevator rather than testing a reset.
- Floor rewards are one per floor and are awarded on completion.
- The reward is tied to returning the relic, not just solving the puzzle room.
- Floor UGC is free; the shop cosmetics are separate ticket purchases.
- If the reward does not appear, check the elevator exit and your inventory before replaying.
The items page lists all nine floor rewards together with the game-quest UGC.
Frequently asked questions
Are The Hollow floor codes fixed?
No. The maze layout and most puzzle inputs change per run. Floor 3's graveyard symbols and Floor 9's lever order are random. Use the puzzle rule, not a copied code.
Which floor gives which reward?
Floor 1 gives Lord Umberhallow BLOXikin, Floor 2 Witches Brew-nado, Floor 3 Festering Felix, Floor 4 Boo & Bub, Floor 5 Spore-Worn Traffic Cone, Floor 6 The Amazing Liquefactive Bighead, Floor 7 Candy Corn Rune Antlers, Floor 8 Rotten Pumpkin, and Floor 9 Telamon's Ghoultry Suit.
Can I replay a floor for a second item?
You can replay the maze, but each floor reward is a one-time UGC claim. Replaying does not produce a duplicate.
Do I need to clear the floors in order?
No. Pick any unlocked floor from the elevator. Older floors stay open after their debut night.
How do I avoid the monster on a floor?
Keep moving, use the maze's side rooms, and buy the Invisibility Cloak if a chase goes wrong. Floor 9 in particular is easier with the cloak.
Sources and limits
This page separates what the cited sources establish from its own editorial summary. It is an independent guide and is not affiliated with Roblox or the participating games. Source checks are dated 31 October 2026; they are not claimed as the site's own playtest.
- IGN — Day 1–8 floor guidesFloor themes, puzzle rules, and reward names for Floors 1–8.
- Beebom — full event walkthroughGrave Lock, mirror route, cauldron colors, and later-floor steps.
- TechWiser — Floor 9 Piggy puzzleFloor 9 lever sequence, Piggy chase, Invisibility Cloak, and Telamon's Ghoultry Suit.
- Roblox Wiki — lobby maze prizesFloor reward names and the one-per-floor structure.